
27. Non-Blocking Timing with millis()
Run several timed tasks together without delay().
Learning outcomes
- Explain why delay blocks other work
- Schedule independent tasks with millis timestamps
- Debounce a button without delay
- Keep loop responsive while outputs animate
Parts and preparation
Uno, two LEDs with 330 ohm resistors, one push-button and jumpers.
Before power: inspect wiring, confirm supply voltage and ensure all connected circuits share GND.
Blocking problem
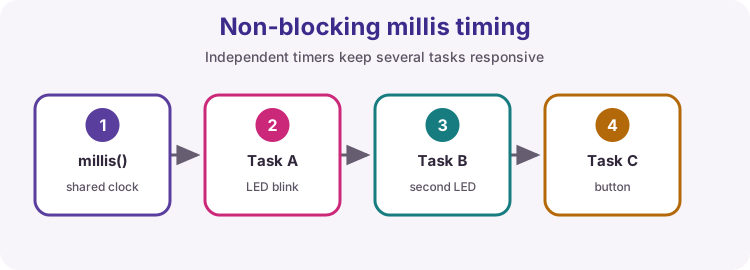
delay(ms) freezes the whole sketch until the wait ends. Buttons, sensors and second LEDs cannot be serviced during that wait.
millis pattern
Save the start time of a task. When millis() - start >= interval, run the action and update the start time. Overflow is handled correctly when both values are unsigned long.
Independent timers
Each task needs its own lastRun variable and interval. Tasks share loop but do not wait for each other.
Debounce without delay
Ignore further edges until a quiet interval has passed. That keeps the sketch free to blink LEDs while waiting for a stable button.
Wiring and safe build sequence
- D5 -> 330 ohm -> LED1 -> GND
- D6 -> 330 ohm -> LED2 -> GND
- Button from D2 to GND; use INPUT_PULLUP
Worked sketch
Download .ino sketchconst byte ledFast = 5;
const byte ledSlow = 6;
const byte buttonPin = 2;
unsigned long lastFast = 0;
unsigned long lastSlow = 0;
unsigned long lastDebounce = 0;
bool fastState = false;
bool slowState = false;
bool lastStable = HIGH;
bool lastReading = HIGH;
unsigned int pressCount = 0;
void setup() {
pinMode(ledFast, OUTPUT);
pinMode(ledSlow, OUTPUT);
pinMode(buttonPin, INPUT_PULLUP);
Serial.begin(9600);
}
void loop() {
unsigned long now = millis();
if (now - lastFast >= 200) {
lastFast = now;
fastState = !fastState;
digitalWrite(ledFast, fastState);
}
if (now - lastSlow >= 700) {
lastSlow = now;
slowState = !slowState;
digitalWrite(ledSlow, slowState);
}
bool reading = digitalRead(buttonPin);
if (reading != lastReading) {
lastDebounce = now;
lastReading = reading;
}
if ((now - lastDebounce) >= 40 && reading != lastStable) {
lastStable = reading;
if (lastStable == LOW) {
pressCount++;
Serial.print("Presses: ");
Serial.println(pressCount);
}
}
}How the code works
- Each LED has its own timer so the rates stay independent.
- The debounce window is 40 ms and does not call delay.
- Use unsigned long for every millis timestamp.
Test and record evidence
Practical evidence checklist
Common faults and checks
- If both LEDs freeze when the button is held, a delay was introduced somewhere.
- Missed presses usually mean the debounce time is too long or the button wiring is wrong.
Check your understanding
Q1. Why avoid long delay calls?
Show answer
They stop loop from servicing other tasks.
Q2. Why use unsigned long with millis?
Show answer
millis returns unsigned long; correct overflow math needs matching types.