
09. UART Serial & Debugging
Watch your sketch over USB Serial, print useful labels, and accept simple commands.
Learning outcomes
- Explain why baud rates must match on both ends
- Use Serial.print and Serial.println with clear labels
- Read characters with available and read
- Know when parseInt helps and how it can block
- Apply a calm debug-print strategy instead of flooding the Monitor
Parts and preparation
Arduino Uno, USB data cable and Arduino IDE 2 Serial Monitor. Onboard LED only - no breadboard required.
Before power: inspect wiring, confirm supply voltage and ensure all connected circuits share GND.
Why Serial matters
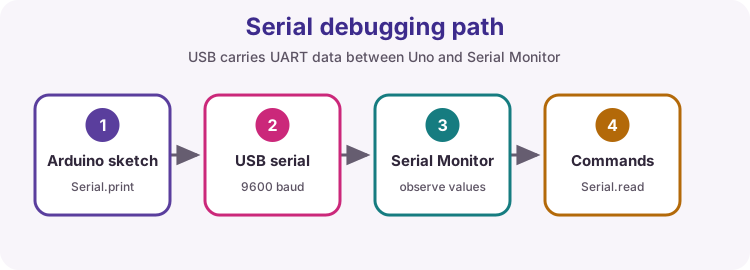
When LEDs alone cannot explain a bug, Serial is your window into the sketch. You print what the board thinks - inputs, decisions, outputs - and you can send simple commands back.
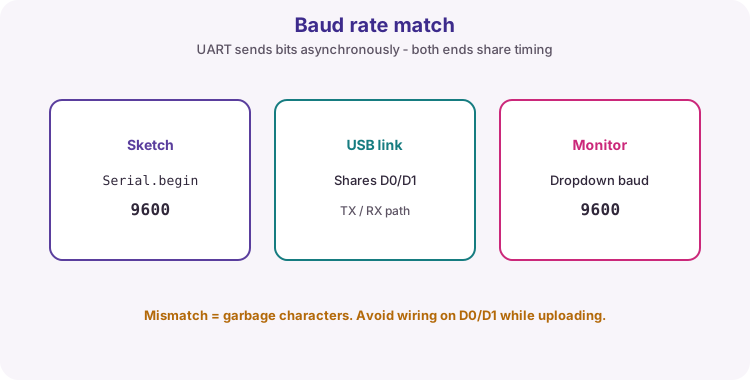
On the Uno, USB Serial shares the hardware UART with pins D0 (RX) and D1 (TX). Avoid parking other devices on those pins while uploading or debugging.
UART and baud rate
UART sends bits asynchronously: both ends agree on bit timing (baud). Serial.begin(9600) sets the sketch side; the Monitor dropdown must show the same number.
If they differ, you get garbage characters or nothing useful. 9600 is the course default - slow enough to read, fast enough for student demos.
print versus println
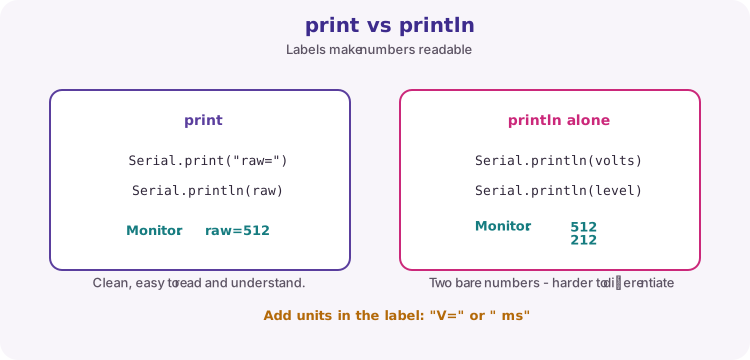
Serial.print continues on the same line. Serial.println adds a line ending so the next message starts below.
Bare numbers are hard to read in a hurry. Prefer labels and units: Serial.print("raw="); Serial.println(raw);
Serial.print("cmd=");
Serial.println(command);
Receiving commands
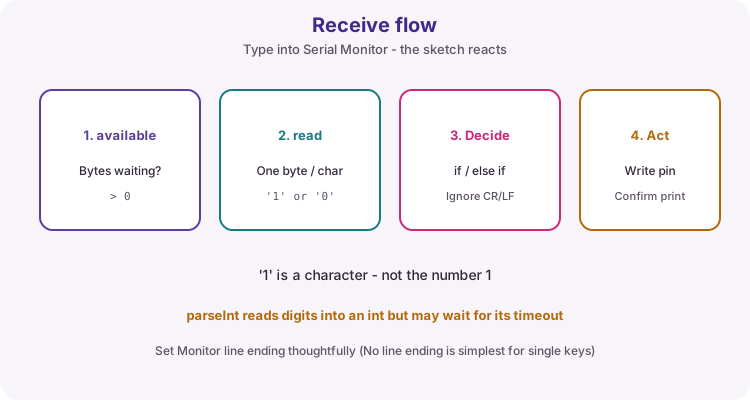
Serial.available() reports how many bytes are waiting. Serial.read() returns one byte (often stored in a char).
Compare characters carefully: '1' is the character one, not the integer 1. Monitor line endings (NL/CR) also arrive as bytes - ignore them if your sketch only cares about '0' and '1'.
parseInt() reads digit characters into an integer. Handy for brightness values, but it can wait until a non-digit or a timeout - that wait blocks other work.
| Call | Role |
|---|---|
| Serial.begin(9600) | Start UART at 9600 baud |
| Serial.available() | Bytes waiting in the buffer |
| Serial.read() | Take one byte |
| Serial.print / println | Send text to the Monitor |
| Serial.parseInt() | Read an integer (can wait) |
Debugging strategy
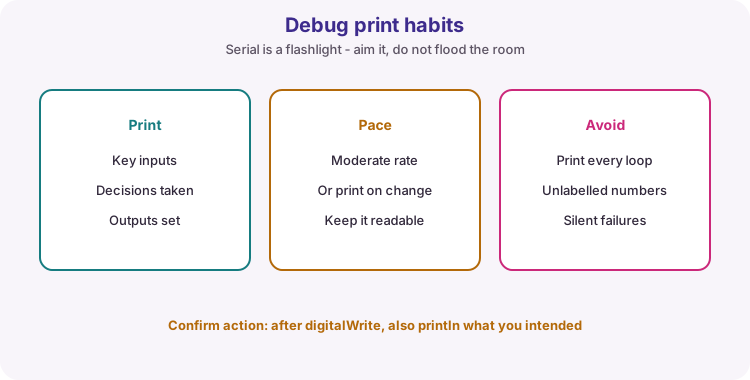
Print the few values that prove the story: the key input, the branch you took, the output you set. Do not print on every loop pass unless you throttle it - a flood hides the bug.
After digitalWrite, print what you intended ("LED ON"). If the Monitor says ON but the LED is dark, the fault is wiring or pinMode - not the if logic.
What the worked sketch practises
Type 1 or 0 in the Serial Monitor to turn the onboard LED on or off. The sketch echoes confirmation so you can see command and effect together.
Set line ending to No line ending while testing single keys, or teach your if-chain to ignore '\n' and '\r'.
Wiring and safe build sequence
- USB data cable from PC to Uno (charge-only cables fail silently)
- Select the correct board and port in the IDE
- Open Serial Monitor at 9600 baud
- Do not attach extra hardware to D0/D1 during this lesson
Worked sketch
Download .ino sketchconst byte ledPin = LED_BUILTIN;
void setup() {
pinMode(ledPin, OUTPUT);
Serial.begin(9600);
Serial.println("Lesson 09: type 1 for ON, 0 for OFF");
}
void loop() {
if (Serial.available() > 0) {
char command = Serial.read();
if (command == '1') {
digitalWrite(ledPin, HIGH);
Serial.println("LED ON");
} else if (command == '0') {
digitalWrite(ledPin, LOW);
Serial.println("LED OFF");
}
// ignore other bytes such as line endings
}
}How the code works
- '1' and '0' are character literals; 1 and 0 without quotes are numbers.
- Line-ending characters fall through the if/else if and are ignored.
- Confirmation prints prove the branch ran - useful when the LED seems dead.
- Match Monitor baud to Serial.begin(9600).
Test and record evidence
Practical evidence checklist
Common faults and checks
- Match 9600 baud in the Monitor dropdown.
- Blank Monitor: use a USB data cable, correct port, and open Monitor after upload.
- If commands seem to fire twice, check line ending settings or print the raw byte as a number to see CR/LF.
- Garbage text usually means a baud mismatch.
- LED never changes but prints work: confirm LED_BUILTIN and that nothing else drives pin 13.
Check your understanding
Q1. Why must baud rates match?
Show answer
The receiver needs the same bit timing as the sender.
Q2. What does Serial.available report?
Show answer
The number of bytes waiting to be read.
Q3. Why compare to '1' instead of 1?
Show answer
'1' is the character code from the keyboard; 1 is the integer one.
Q4. What is the risk of parseInt in loop?
Show answer
It can wait for more digits or a timeout, blocking other work.
Q5. Name one good debug-print habit.
Show answer
Label values, print key decisions/outputs, and avoid flooding every loop pass.