
18. DHT11 / DHT22 Temperature & Humidity
Use a library-based digital environmental sensor.
Learning outcomes
- Explain what temperature and relative humidity the DHT reports
- Compare DHT11 and DHT22 specs and constructor types
- Wire a bare sensor (with pull-up) or a 3-pin module
- Read with the Adafruit DHT library and reject failed readings with isnan
Parts and preparation
Uno, DHT11 or DHT22 sensor/module, 4.7-10 k ohm pull-up for a bare sensor and jumpers. Install both Adafruit libraries listed in the Libraries box.
Before power: inspect wiring, confirm supply voltage and ensure all connected circuits share GND.
Libraries for this lesson
In Arduino IDE 2 open Tools → Manage Libraries…. Search by the Library Manager name and install the package by the exact author below. Similar names from other authors can use different APIs and will break the example.
| Include | Library Manager name | Author | Install note |
|---|---|---|---|
DHT.h | DHT sensor library | Adafruit | Install via Library Manager. |
(dependency) | Adafruit Unified Sensor | Adafruit | Required dependency of the DHT sensor library. Install via Library Manager if prompted or if compile fails. |
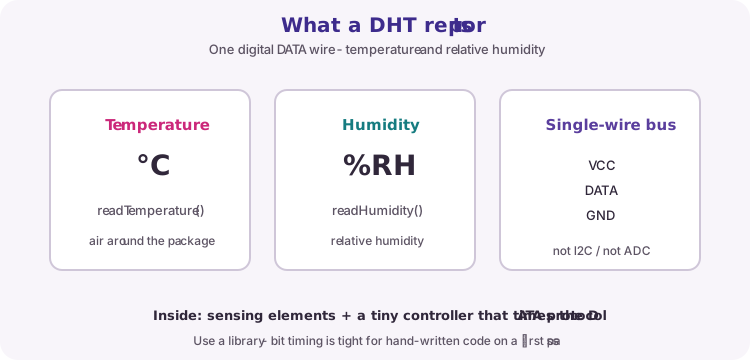
What a DHT reports
A DHT family sensor measures air temperature (C) and relative humidity (%RH). It is a digital single-wire device: VCC, DATA and GND (plus NC on many bare 4-pin packages). It is not an analogue ADC sensor and not an I2C device.
Inside the package, sensing elements and a small controller exchange a timed bit protocol on DATA. Use a library for the first practical - hand-timing that protocol is easy to get wrong.
DHT11 vs DHT22
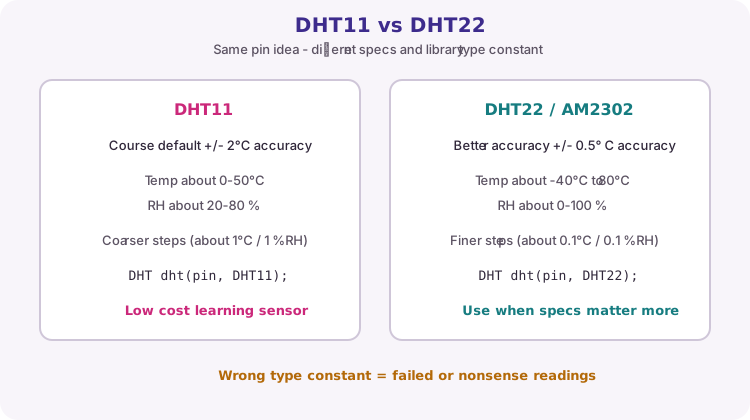
DHT11 is the cheap course default: modest range and coarse steps (about 1 C and 1 %RH). DHT22 (also sold as AM2302) covers a wider range with finer resolution and better accuracy, at higher cost.
Wiring is the same idea for both. The Adafruit constructor type must match the part you fitted: DHT11 or DHT22. A mismatch often produces failed reads or nonsense values.
| Item | DHT11 | DHT22 |
|---|---|---|
| Constructor | DHT11 | DHT22 |
| Typical use | Learning / rough checks | Better accuracy projects |
| Resolution | Coarse | Finer |
| Read interval | About 2 s or slower | About 2 s or slower |
Bare sensor vs module wiring
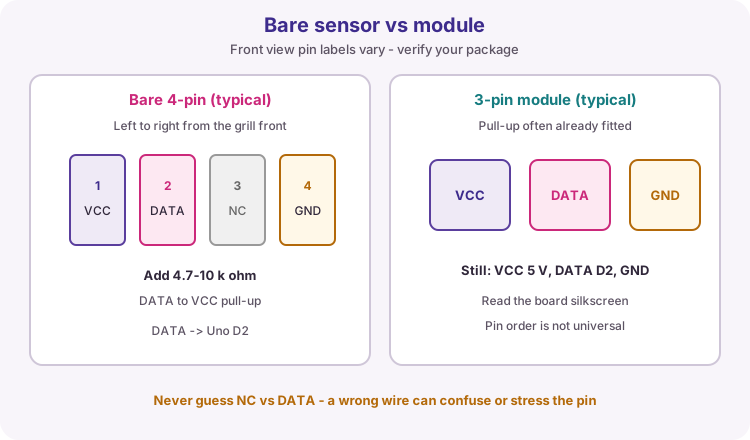
A common bare 4-pin DHT, viewed from the front grill, is often VCC, DATA, NC, GND left to right. Pin 3 is not connected. You must add a 4.7-10 k ohm pull-up from DATA to VCC.
Many 3-pin modules already include the pull-up and label VCC / DATA / GND on the silkscreen. Pin order is not universal - always check the board text before powering.
| Connection | Course practice |
|---|---|
| VCC | 5 V |
| DATA | D2 |
| GND | Uno GND |
| Bare pull-up | 4.7-10 k ohm DATA to VCC |
| Bare pin 3 | NC - leave open |
Sampling interval
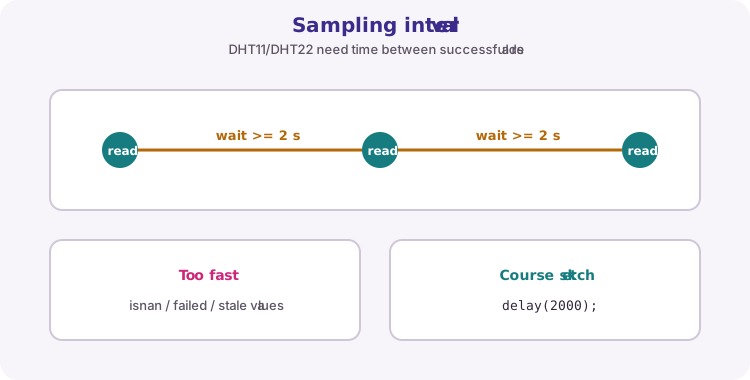
DHT sensors need recovery time between readings. Reading much faster than about once every two seconds often returns failed or stale data. The worked sketch uses delay(2000) before each read.
Libraries and isnan
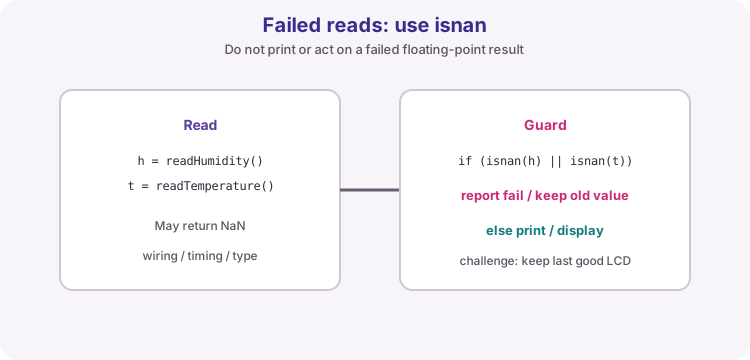
Install DHT sensor library by Adafruit and the Adafruit Unified Sensor dependency. Call dht.begin() in setup, then readHumidity() and readTemperature() in loop.
A failed read returns NaN (not a number). Always check isnan on both values before printing, logging or driving an LCD. The extension challenge is to keep the previous LCD values when a read fails.
#include <DHT.h>
const byte dhtPin = 2;
DHT dht(dhtPin, DHT11);  // use DHT22 if that is the part fitted

void setup() {
  Serial.begin(9600);
  dht.begin();
}

void loop() {
  delay(2000);
  float h = dht.readHumidity();
  float t = dht.readTemperature();
  if (isnan(h) || isnan(t)) {
    Serial.println("DHT read failed");
    return;
  }
  Serial.print(t, 1);
  Serial.print(" C  ");
  Serial.print(h, 1);
  Serial.println(" %RH");
}
Wiring and safe build sequence
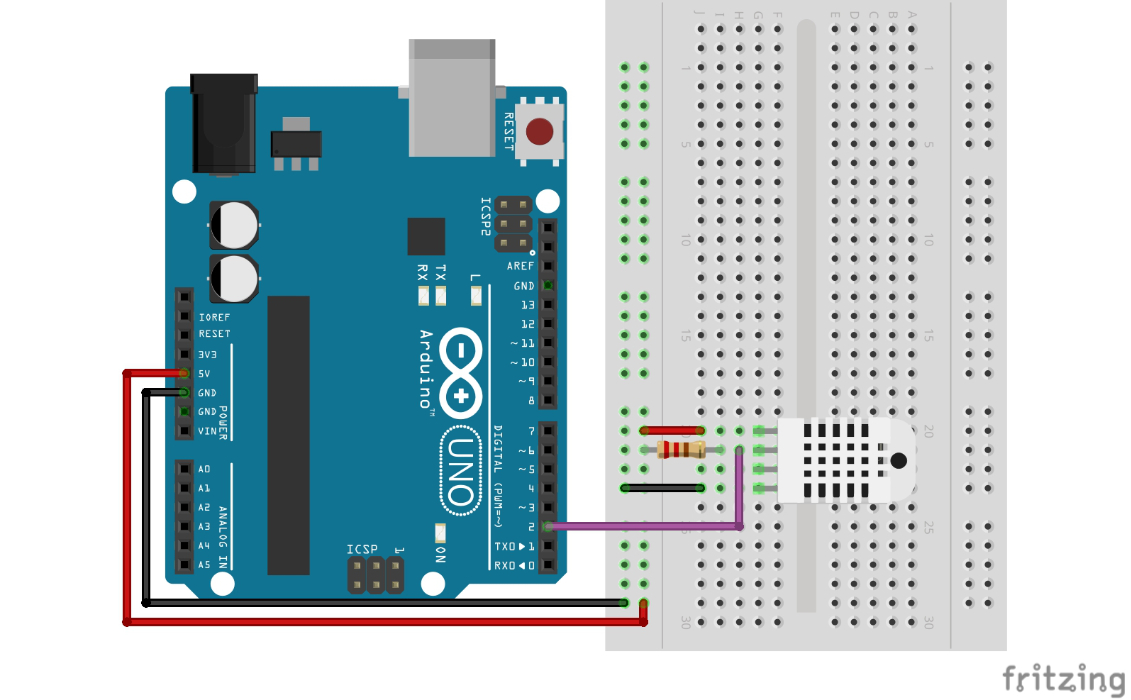
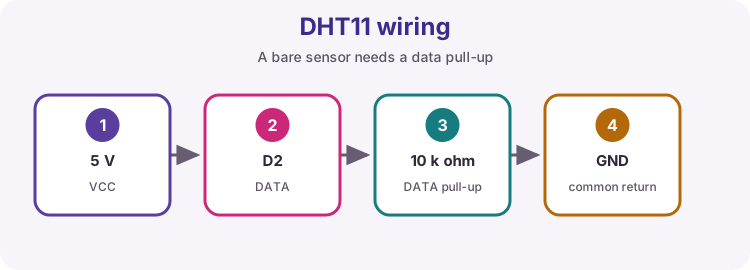
- VCC -> 5 V
- GND -> GND
- DATA -> D2
- Bare sensor: 4.7-10 k ohm from DATA to VCC
- Pin 3 of a common bare four-pin package is not connected
Worked sketch
Download .ino sketch#include <DHT.h>
const byte dhtPin = 2;
DHT dht(dhtPin, DHT11); // use DHT22 if that is the part fitted
void setup() {
Serial.begin(9600);
dht.begin();
}
void loop() {
delay(2000);
float humidity = dht.readHumidity();
float temperature = dht.readTemperature();
if (isnan(humidity) || isnan(temperature)) {
Serial.println("DHT read failed");
return;
}
Serial.print(temperature, 1);
Serial.print(" C ");
Serial.print(humidity, 1);
Serial.println(" %RH");
}How the code works
- isnan detects the library's failed floating-point reading.
- The two-second delay respects sensor timing.
- Change DHT11 to DHT22 in the constructor when you fit a DHT22 / AM2302.
Test and record evidence
Practical evidence checklist
Common faults and checks
- Verify sensor orientation and module pin labels.
- Install both required Adafruit libraries.
- Add/check the data pull-up for a bare sensor.
- Confirm the constructor type matches DHT11 or DHT22.
- Slow the loop if reads fail when polled too quickly.
Check your understanding
Q1. Why check isnan?
Show answer
A failed DHT read returns a not-a-number value.
Q2. How frequently should a DHT11 be read?
Show answer
About once every two seconds or slower.
Q3. What must you change in code when swapping DHT11 for DHT22?
Show answer
The type constant in the DHT constructor (DHT22).
Q4. Why does a bare DHT need a pull-up on DATA?
Show answer
DATA is an open single-wire line; without a pull-up the level is undefined when idle.